Getting started
Roster is a single Go binary with the web UI and all agent binaries embedded. You need Go 1.26+ and Node.js only to build it; at runtime it is one self-contained executable plus a database (SQLite by default).
1. Build
# Build the server (embeds the web UI + cross-compiled agents)
make server

# or manually:
cd web && npm install && npm run build && cd ..
make agents-embed
CGO_ENABLED=0 go build -ldflags "-s -w" -o bin/roster-server ./cmd/server
2. Run
On first start Roster creates an admin user and prints a generated password (unless you set one via env). Open the UI, sign in, and you're on the dashboard.
Local testing vs production
For a quick local test you can run over plain HTTP. For production, terminate TLS at a
reverse proxy (set ROSTER_BEHIND_PROXY=true, ROSTER_SECURE_COOKIE=true) or let
Roster serve TLS directly — see Configuration.
3. Enroll your first agent
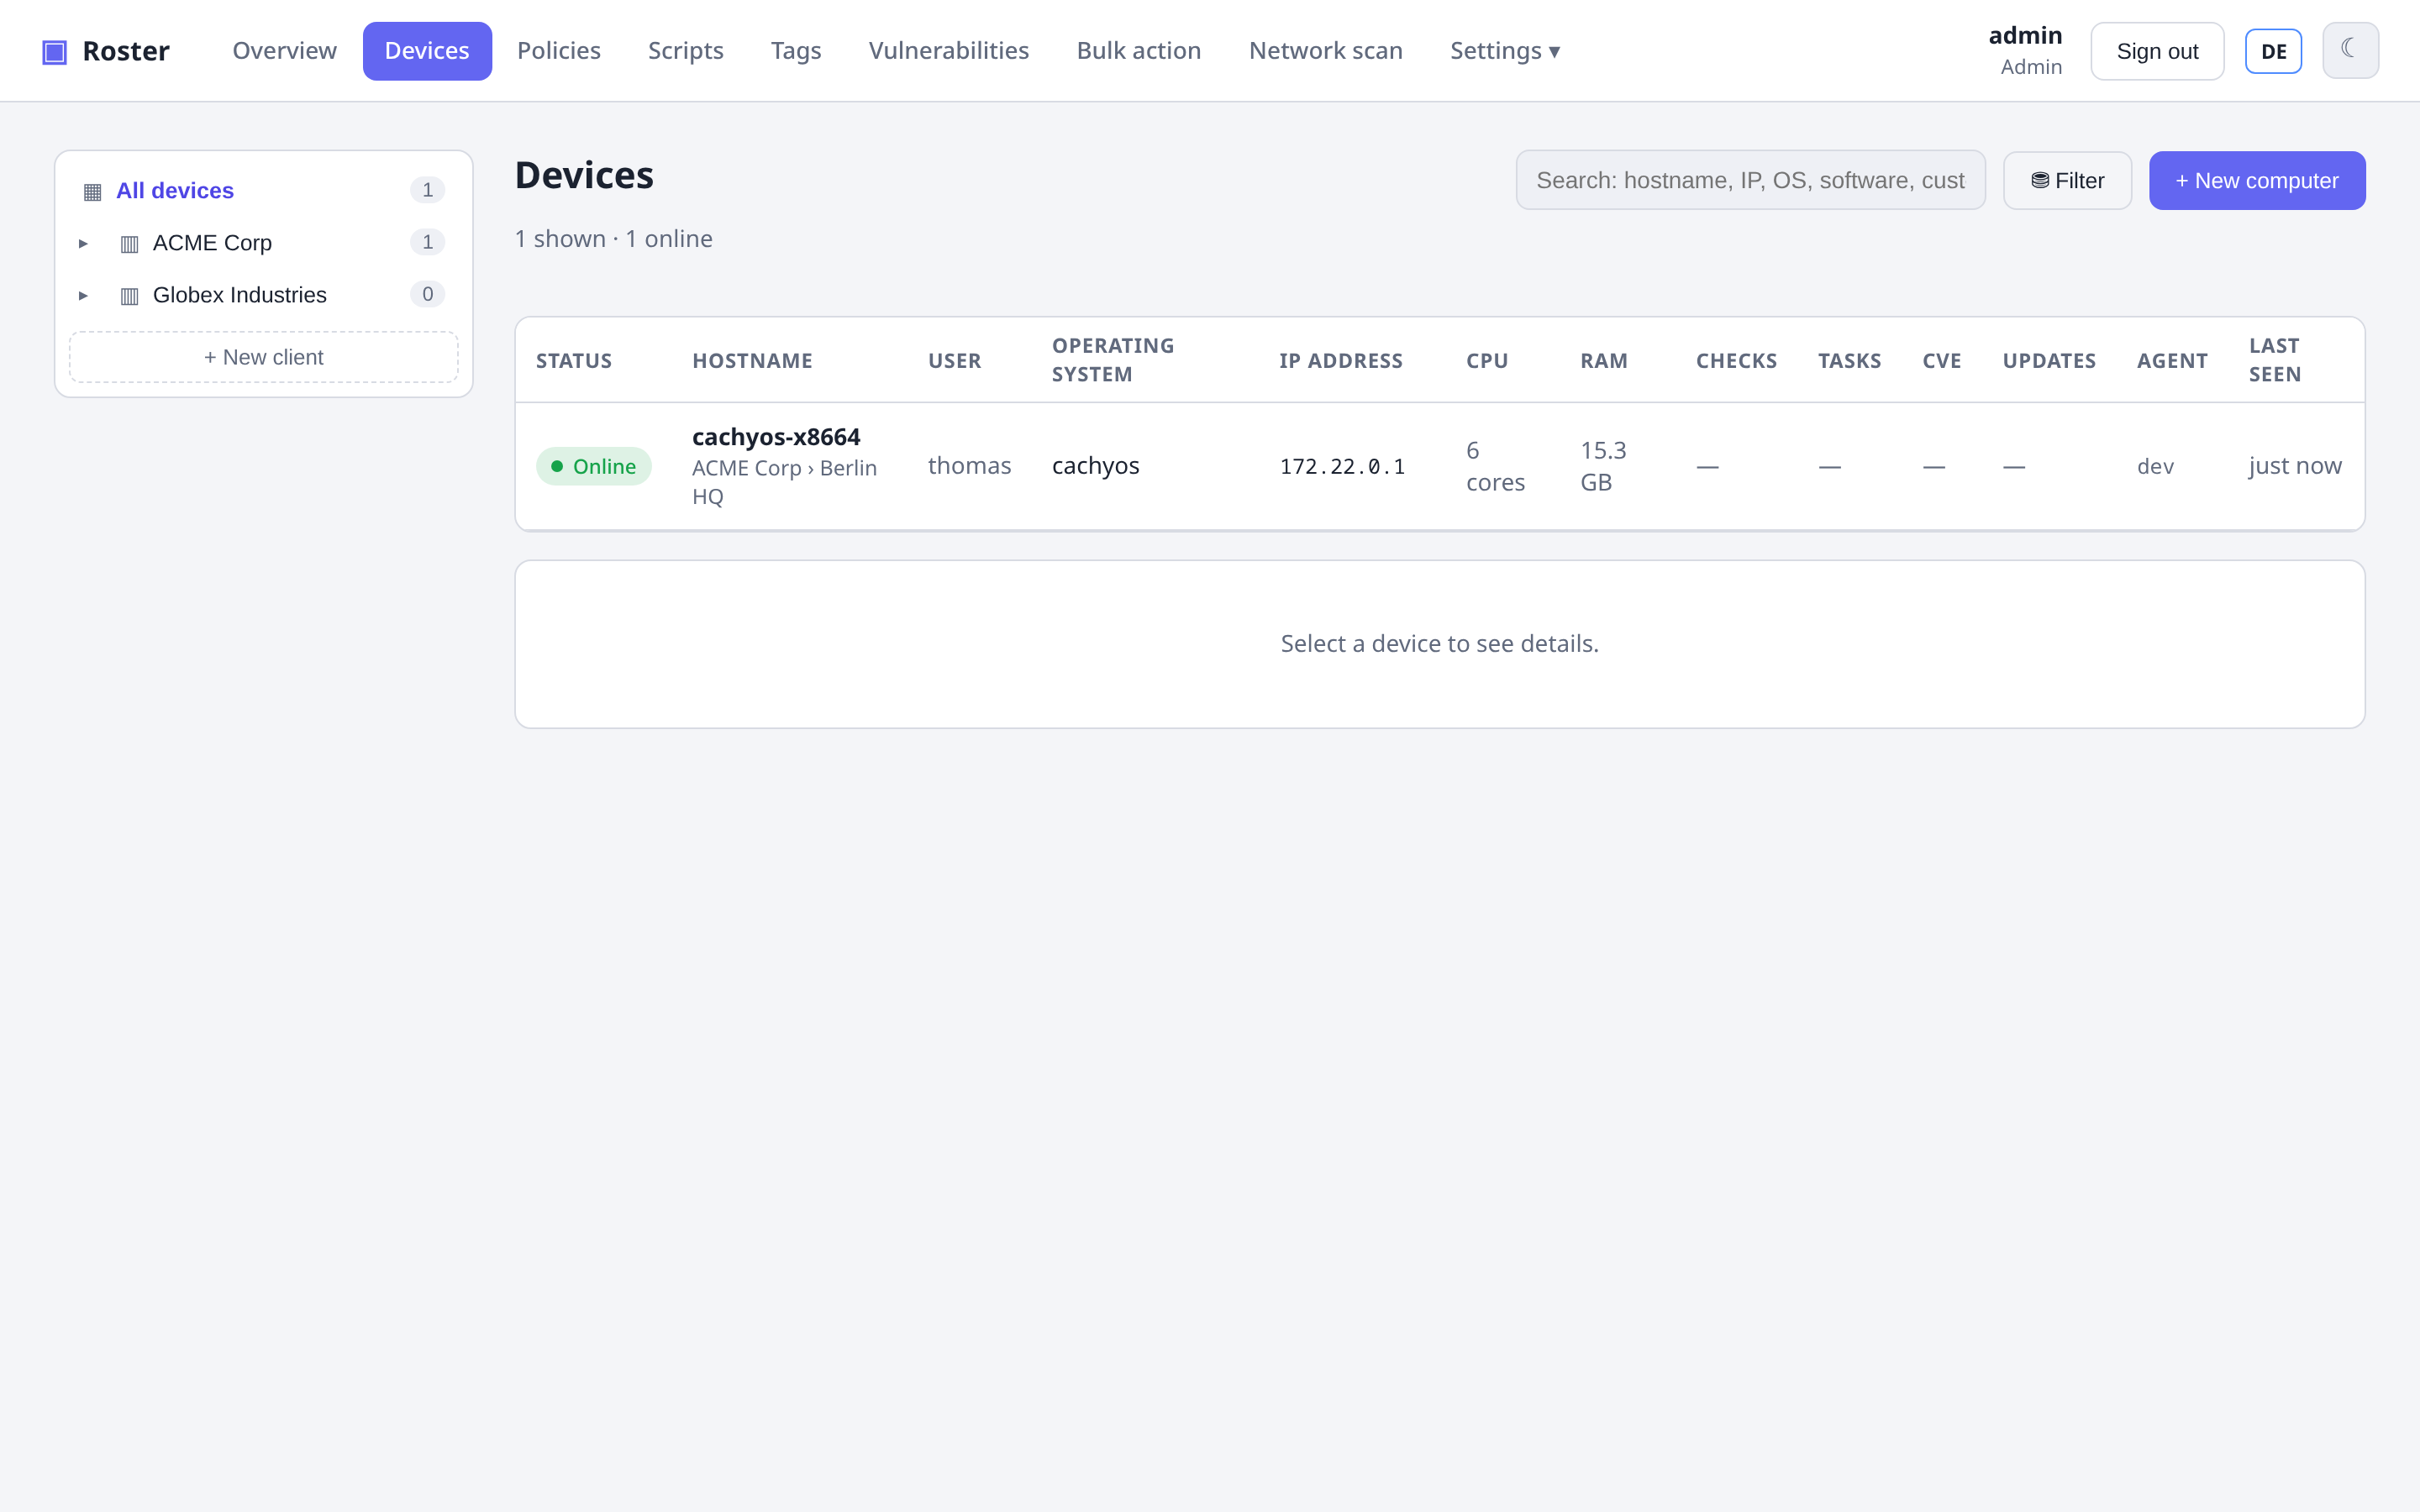
- In the UI, click + New computer.
- Pick the target OS — Roster generates a one-line install command with the server URL and a fresh enrollment token baked in, and serves the matching agent binary.
- Run it on the target machine. The agent installs itself as a service, enrolls, and starts reporting inventory within a minute.
Agents auto-update: when you deploy a newer server, agents pull the new binary on their next check-in.
4. Organize your fleet
Roster uses a Company → Site → Device hierarchy (TacticalRMM-style):
- Create companies (clients) and sites under Settings.
- Bind an enrollment token to a site so devices land there automatically, or move a device to a site later from its detail page.
This hierarchy also powers per-user data scope — limiting a user to specific companies/sites.
Next
- Lock down who sees what with Roles & permissions.
- Set thresholds and automation with Checks & tasks.
- Connect to a machine with Remote desktop & terminal.